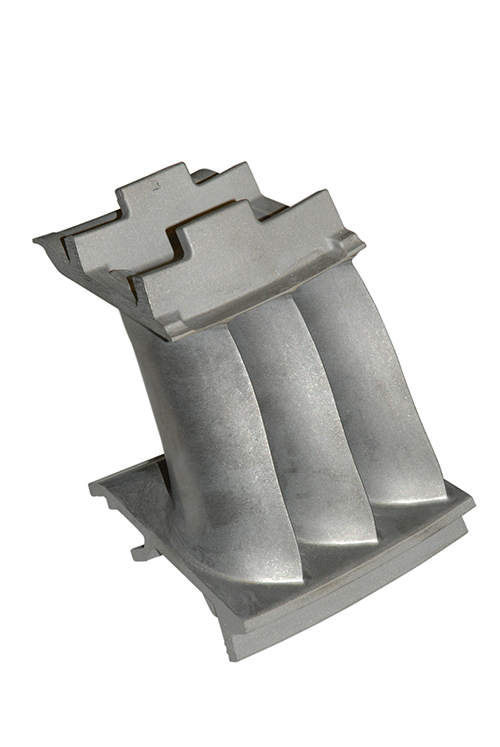
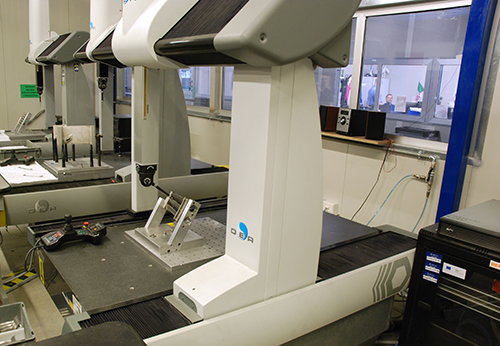
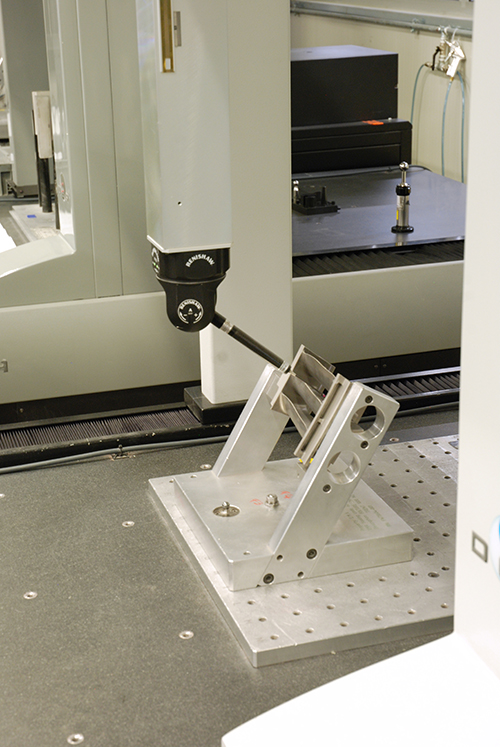
Vittorio Caggiano, Marco Iannuzzi and Maurizio Rullo in the EMA's measurement room The critical dimensions of detecting large quantities of complex workpieces are not only difficult and time consuming, especially when all workpieces produced must be tested. Europea Microfusioni Aerospaziali, a turbine blade manufacturer based in Morra De Sanctis, in the province of Avellino, Italy, now uses the Renishaw PH20 five-axis head to perform these tests. The inspection cycle is reduced by up to 50% compared to using a three-axis system . background Europea Microfusioni Aerospaziali (EMA) is one of the Rolls-Royce Group's subsidiaries. The group is a leading manufacturer of global propulsion systems for civil and military aircraft, ships, submarines and turbine manufacturing propulsion systems (for the production of industrial energy). EMA's production facility at Morra De Sanctis includes a 20,000-square-meter facility that produces ultra-high-precision specialty alloy stators and rotor blades for civil and military high, medium and low-pressure aerospace turbines. The company also produces blades for industrial turbines for power generation. More than two-thirds of EMA's products are supplied to well-known customers in the aviation industry in Italy and around the world, including the parent companies Rolls-Royce, AgustaWestland, Ansaldo Energia, Avio, Turbocare, Siemens, MAN and Snecma. About 25% of the world's military aircraft are equipped with Rolls-Royce engines, many of which use EMA products. EMA's multi-blade part AEREO “Since the introduction of the Renishaw PH20 head, we have significantly reduced the measurement time and the number of stylus exchanges performed during the test cycle. The use of MODUSTM software also reduces and optimizes the programming time. We have managed to reduce the test cycle by 30-50%. In some cases even more than 50%. " Europea Microfusioni Aerospaziali ( Italy ) challenge EMA's measurement room Turbine and aero engine blades are made of superalloy that can withstand extremely high temperatures and pressures. Their shape is generally complex to maximize efficiency and reduce stress and fatigue. However, these blades are produced using one of the most traditional manufacturing techniques of mankind, casting technology. EMA has perfected a variety of micro-casting techniques, including the techniques used to produce metal alloy single crystal blades. The company also specializes in the lost wax micro-casting process, which first creates a wax pattern obtained from a metal mold. These wax patterns are then coated with a high temperature resistant ceramic material. The wax is then removed to form a ceramic shell into a mold for the superalloy. After the casting has solidified and cooled, it is heat treated and polished, and the dimensional accuracy and structural integrity of all the workpieces are checked by ultrasonic, X-ray and liquid penetration tests. Due to the complex geometry of the workpiece and the 100% inspection requirements, it is challenging to design an efficient process to check the dimensional accuracy of turbine and aerospace engine blades. solution Maurizio Rullo is using the Equator Quality Control Manager Vittorio Caggiano said, “We have to find a solution to increase the efficiency of the dimensional inspection process for the number of workpieces measured per unit time.†To this end, EMA can choose to purchase new measuring equipment or shorten the measurement time to improve the measurement capabilities of the company's existing measuring equipment. “Until a few years ago, our CMMs were equipped with the PH10 three-axis repositionable head, but there were some restrictions on the movement and stylus exchange time,†Caggiano said. These limitations are due to the complexity of the workpiece and require several stylus exchanges per measurement cycle. “We worked closely with Renishaw technicians to find a better solution. We also sent the workpieces to Renishaw's facility in Turin for testing. After testing, we believe that the best solution is to buy more flexible. Efficient new PH20 five-axis head and MODUS measurement software. Renishaw has retrofitted the new probe to our existing CMM, and Renishaw SpA employees have written 50 measurements during the training for us. program." result “The end result is very satisfying,†adds coordinate measuring machine programmer Maurizio Rullo. “Since the introduction of the Renishaw PH20 head, we have significantly reduced the measurement time and the number of stylus exchanges performed during the test cycle. The use of MODUS software also reduces and optimizes the programming time. We have managed to reduce the test cycle by 30-50%, In some cases even more than 50%!" EMA also purchased the Renishaw EquatorTM Alignment Meter to quickly and efficiently measure the geometry and shape of large batches of workpieces. “By benefiting from the Renishaw Equator, we were able to concentrate all necessary measurements on certain components; previously, multiple measuring instruments were required to perform these tests. As a result, the inspection time for large batches of workpieces was significantly reduced. Mr. Rullo concluded. Renishaw PH20 and MODUS software PH20 is testing EMA's multi-blade part AEREO The PH20's unique “seat touch†allows you to acquire measurement points simply by moving the probe instead of the CMM structure. With the fast rotation of the head, you can acquire measurement points faster and achieve higher accuracy and repeatability. In addition, the five-axis linkage eliminates the rotational positioning time of the probe. The PH20's stepless positioning ensures optimal characterization and minimizes stylus exchanges. The five-axis synchronized motion reduces the space required for the swivel to position the workpiece around the workpiece, allowing larger workpieces to be measured on the CMM. The PH20 automatically aligns with the workpiece coordinate system to avoid stylus collisions and eliminates the need for precision fixtures. The unique “inferential calibration†technology developed for the PH20 allows the orientation of the head and the position of the probe to be determined at one time, enabling subsequent measurements to be taken at any head angle. The PH20 automatically aligns with the workpiece coordinate system: there is no danger of collision and complex fixtures are eliminated. The unique Quick Calibration System feature determines the orientation of the head and probe at a time for measurements at any angle. MODUS measurement software simplifies complex measurement applications and reduces measurement cycles. The software features simulation of the probe path, collision detection and screen detection to support offline programming on CAD. The above features of MODUS help reduce machine downtime; programs written can be loaded onto the machine for use at any time, with little or no testing at all. Compiled from Ernesto Imperio's original article on Tecnologie Meccaniche For more information, please visit Seamless Tube,Ss Seamless Pipe,Seamless Tubes And Pipes,Cold Finished Seamless Tube Zhejiang Ruimai Stainless steel Tube Co.,Ltd. , https://www.ruimaitube.com


